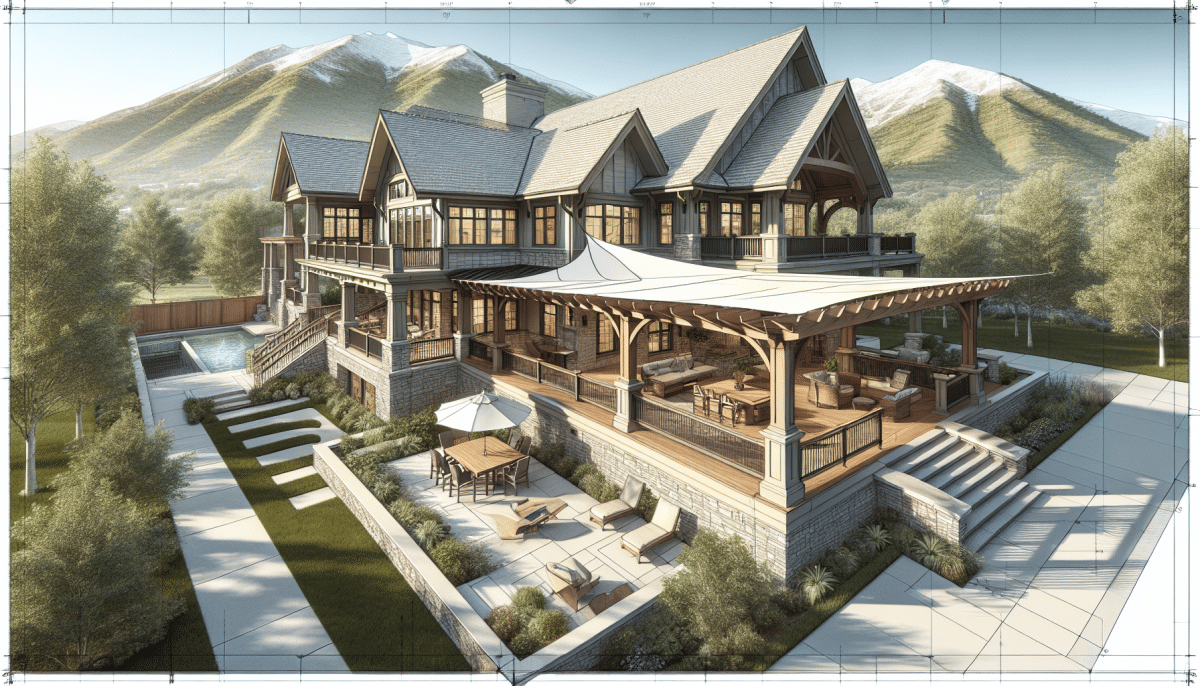
Utah Pergola Company knows how important it is to have a comfortable and stylish outdoor space. But when the sun’s rays become too intense, it can be challenging to enjoy your backyard. Fortunately, this article will guide you through the process of building your own Backyard Shade. Whether you’re a DIY enthusiast or a homeowner looking to enhance your outdoor living area, this step-by-step guide is for you.
Contents
1. Planning Your Pergola
First things first, plan your pergola. Consider the size, style, and location. Take into account the existing landscape and structures. Planning is crucial as it sets the foundation for a successful build.
Measure your space accurately and choose Materials that match your home’s aesthetic. Pergolas come in various designs, so select one that complements your backyard. Planning ensures you have all the necessary materials and tools before starting.
By being thorough at this stage, you will avoid unnecessary interruptions later. Proper planning will save you time and ensure a smoother construction process.
2. Gathering Materials and Tools
Now that you have a plan, it’s time to gather everything you’ll need. This includes:
- Lumber: Choose durable Wood such as Cedar or redwood. Proper wood will ensure longevity.
- Fasteners: Screws and nails for securing the structure. Quality fasteners prevent wobbling.
- Concrete: For securing the posts in the ground. Strong foundations are essential for stability.
- Tools: Drills, saws, level, tape measure, and a hammer. Having the right tools makes the job easier.
- Safety Gear: Gloves, goggles, and a mask. Safety gear will protect you during the build.
3. Prepping the Area
Prepare the area where your pergola will stand. Clear any debris and level the ground as needed. Prepping ensures a stable base for your structure.
Mark the locations of the posts based on your measurements. Use stakes and string to outline the area. Proper preparation helps to visualize the final structure and ensures accuracy.
This step is essential for ensuring your pergola sits securely and looks professionally done.
4. Setting the Posts
This is where things start to take shape. Dig holes for your posts using a post hole digger. Each hole should be at least 2 feet deep.
Place the posts into the holes and fill them with concrete. Ensure the posts are level and aligned as you go. This will be the foundation of your pergola, so take your time to get it right.
Allow the concrete to set completely before moving on. This ensures the posts are securely anchored.
5. Adding the Support Beams
Next, attach the support beams to the posts. These will hold up the rafters and add stability.
Use sturdy beams that can support the weight of the rafters. Secure them to the posts with bolts and screws. Ensure they are level and aligned properly.
Support beams are crucial for the overall stability and strength of your pergola. Prioritize accuracy and sturdiness in this step.
6. Installing the Rafters
Now it’s time to add the rafters. These will give your pergola its characteristic look.
Space the rafters evenly and secure them to the support beams. Use a level to ensure they are straight. Proper installation of rafters is vital for aesthetic appeal and functional shade.
Consider adding decorative elements or patterns for a personalized touch. This customization will make your pergola uniquely yours.
7. Sealing and Staining
To protect your pergola from the elements, apply a sealant or stain.
Choose a weather-resistant product that enhances the wood’s natural beauty. Sealing will prolong the life of your pergola and keep it looking fresh.
Apply the sealant or stain evenly, following the manufacturer’s instructions. This step is essential for maintaining the durability and appearance of your pergola over time.
8. Adding the Finishing Touches
This is where you can let your creativity shine. Add finishing touches that reflect your style.
Consider adding climbing plants to give your pergola a natural, lush look. You can also incorporate lighting or curtains for added functionality and ambiance.
Finishing touches are what make your pergola feel like an extension of your home. Personalize it to create a space where you’ll love to spend time.
9. Maintenance Tips
To keep your pergola looking its best, regular maintenance is key.
- Inspect: Regularly check for any damage or wear. Early detection helps you address issues before they become major problems.
- Clean: Wash the pergola to remove dirt and debris. Keeping it clean enhances its appearance and longevity.
- Seal: Reapply sealant or stain as needed. This protects the wood from weathering.
- Prune: Trim any plants or vines growing on your pergola. Pruning maintains the structure’s integrity and prevents overgrowth.
- Repair: Fix any loose screws or broken parts promptly. Timely repairs ensure your pergola remains strong and stable.
10. Enjoying Your New Shade
Finally, it’s time to enjoy your hard work. Your new pergola is perfect for relaxing, entertaining, and enhancing your backyard’s appeal.
Invite friends and family over for a gathering under your new pergola. This new space can be a focal point for many memorable occasions.
Creating your own backyard shade is satisfying and rewarding. It transforms your outdoor space into a cozy retreat.
Need professional help or have questions? Contact Us at 801-784-6082 or Request a Free Quote.


