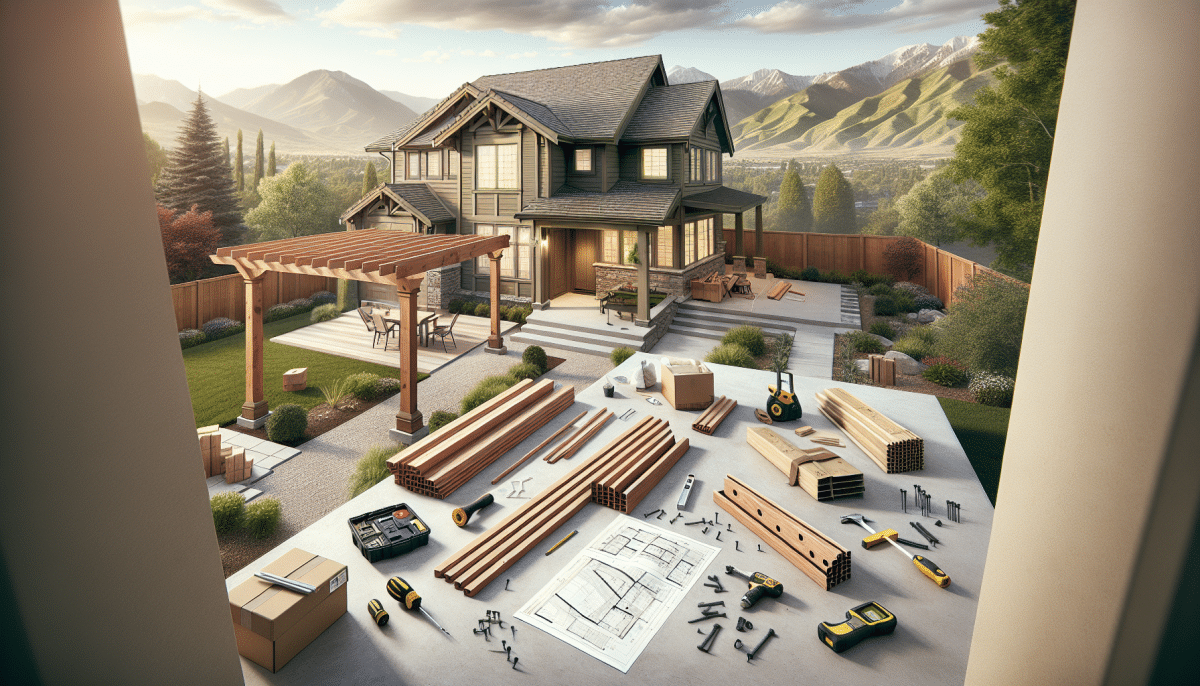
Looking to add a DIY Wood Pergola to your backyard? At Utah Pergola Company, we understand that the thought of installing a pergola can be daunting. But don’t worry! This comprehensive guide will walk you through each step to ensure your installation is smooth and successful. Whether you’re new to DIY projects or an experienced homeowner, this article is for you.
Contents
Planning Your Pergola Project
Taking the time to plan your pergola project is crucial to its success. You need to decide on the location, size, and style. Measure the area where you plan to install the pergola to ensure it will fit.
Consider the purpose of your pergola. Will it be mainly for shade, aesthetics, or a combination of both? Knowing your goals will help you choose the right design and Materials.
Choosing the Right Wood
Selecting the type of wood for your pergola is an essential step. Cedar and redwood are popular choices due to their natural resistance to weather and insects.
Pressure-treated wood is another viable option, although it may require more maintenance. Whichever wood you choose, ensure it’s treated for outdoor use to extend its lifespan.
Gathering Your Tools and Materials
Before you start, make sure you have all the necessary tools and materials. This will save you time and frustration during the installation process. You’ll need items like a tape measure, saw, drill, screws, and more.
Check if you require any permits for construction in your area. Having everything in order beforehand will prevent any legal hiccups.
Preparing the Site
Clear your chosen site of any debris or plants. A level surface is essential for a sturdy pergola, so take the time to even out the ground if needed.
Mark the exact spot where each post will go. Double-check your measurements to ensure the structure will be square and aligned.
Setting the Posts
Setting the posts is a critical step in building a pergola. It affects the stability and longevity of your structure.
Level the posts This ensures your pergola is straight and stable. Use a spirit level to check each post. Secure in concrete Pour concrete into the holes to set your posts firmly. Make sure the posts stay level until the concrete cures. Post anchors Use post anchors if you’re installing on a deck or patio for added stability. Temporary braces Use temporary braces to hold posts in place while the concrete sets. Double-check alignment Ensure all posts are aligned before the concrete hardens.
Installing the Beams
Once your posts are set, you can move on to the beams. These add structural integrity to your pergola.
Place the beams on top of the posts and secure them with screws. It’s important to ensure they are level and properly aligned.
Adding the Rafters
Rafters provide the main framework for your pergola roof. Spacing them evenly is crucial for a uniform appearance.
Attach each rafter to the beams, ensuring they are parallel. Use a tape measure and spirit level to keep them straight.
Attaching the Lattice (Optional)
For added shade and stylistic flair, consider attaching lattice panels to the top of your pergola.
Cut the lattice to fit the dimensions of your pergola. Secure it to the rafters with screws, making sure it’s evenly spaced and aligned.
Finishing Touches
Once the main structure is complete, you can add finishing touches like wood stain or paint to protect the wood and enhance its appearance.
Consider adding furniture, plants, or lighting to make your new pergola a cozy outdoor retreat. These small details can make a big difference.
Conclusion
Ready to transform your backyard with a DIY wood pergola? If you have any questions or need professional assistance, contact Utah Pergola Company by phone # 801-784-6082 or Request a Free Quote.


